Proxy Setup in the SwitchyOmega
May 9, 2024


What is SwitchyOmega?
SwitchyOmega is a powerful web browser extension designed for managing proxy servers and configuring network settings. It provides users with the ability to easily and flexibly manage their internet connection, selecting optimal proxy servers and configuring network settings according to their needs.
Main features
SwitchyOmega allows users to easily manage a list of proxy servers and switch between them using a convenient interface. This helps ensure anonymity and security when browsing the internet. The extension offers the capability to create flexible rules for automatic proxy switching based on various conditions, such as URLs, IP addresses, domains, etc.
SwitchyOmega supports integration with various cloud services, such as Dropbox and Google Drive, allowing settings to be saved and synchronized across different devices. It also supports various proxy protocols, including HTTP, HTTPS, SOCKS, and others, providing maximum flexibility and compatibility when networking.
Benefits
Main advantages of SwitchyOmega:
- Helps ensure anonymity and security online by allowing users to choose optimal proxy servers and configure network settings according to their needs.
- Allows bypassing geographical restrictions and content blocks, providing access to websites and services that may be unavailable in certain regions.
- Optimizes network connection, allowing users to choose proxy servers with the best performance and connection speed.
- Easily manages a large number of proxy servers and creates flexible rules for their automatic switching, making it an ideal tool for users who need to change proxy servers frequently.
How to Set Up a Proxy
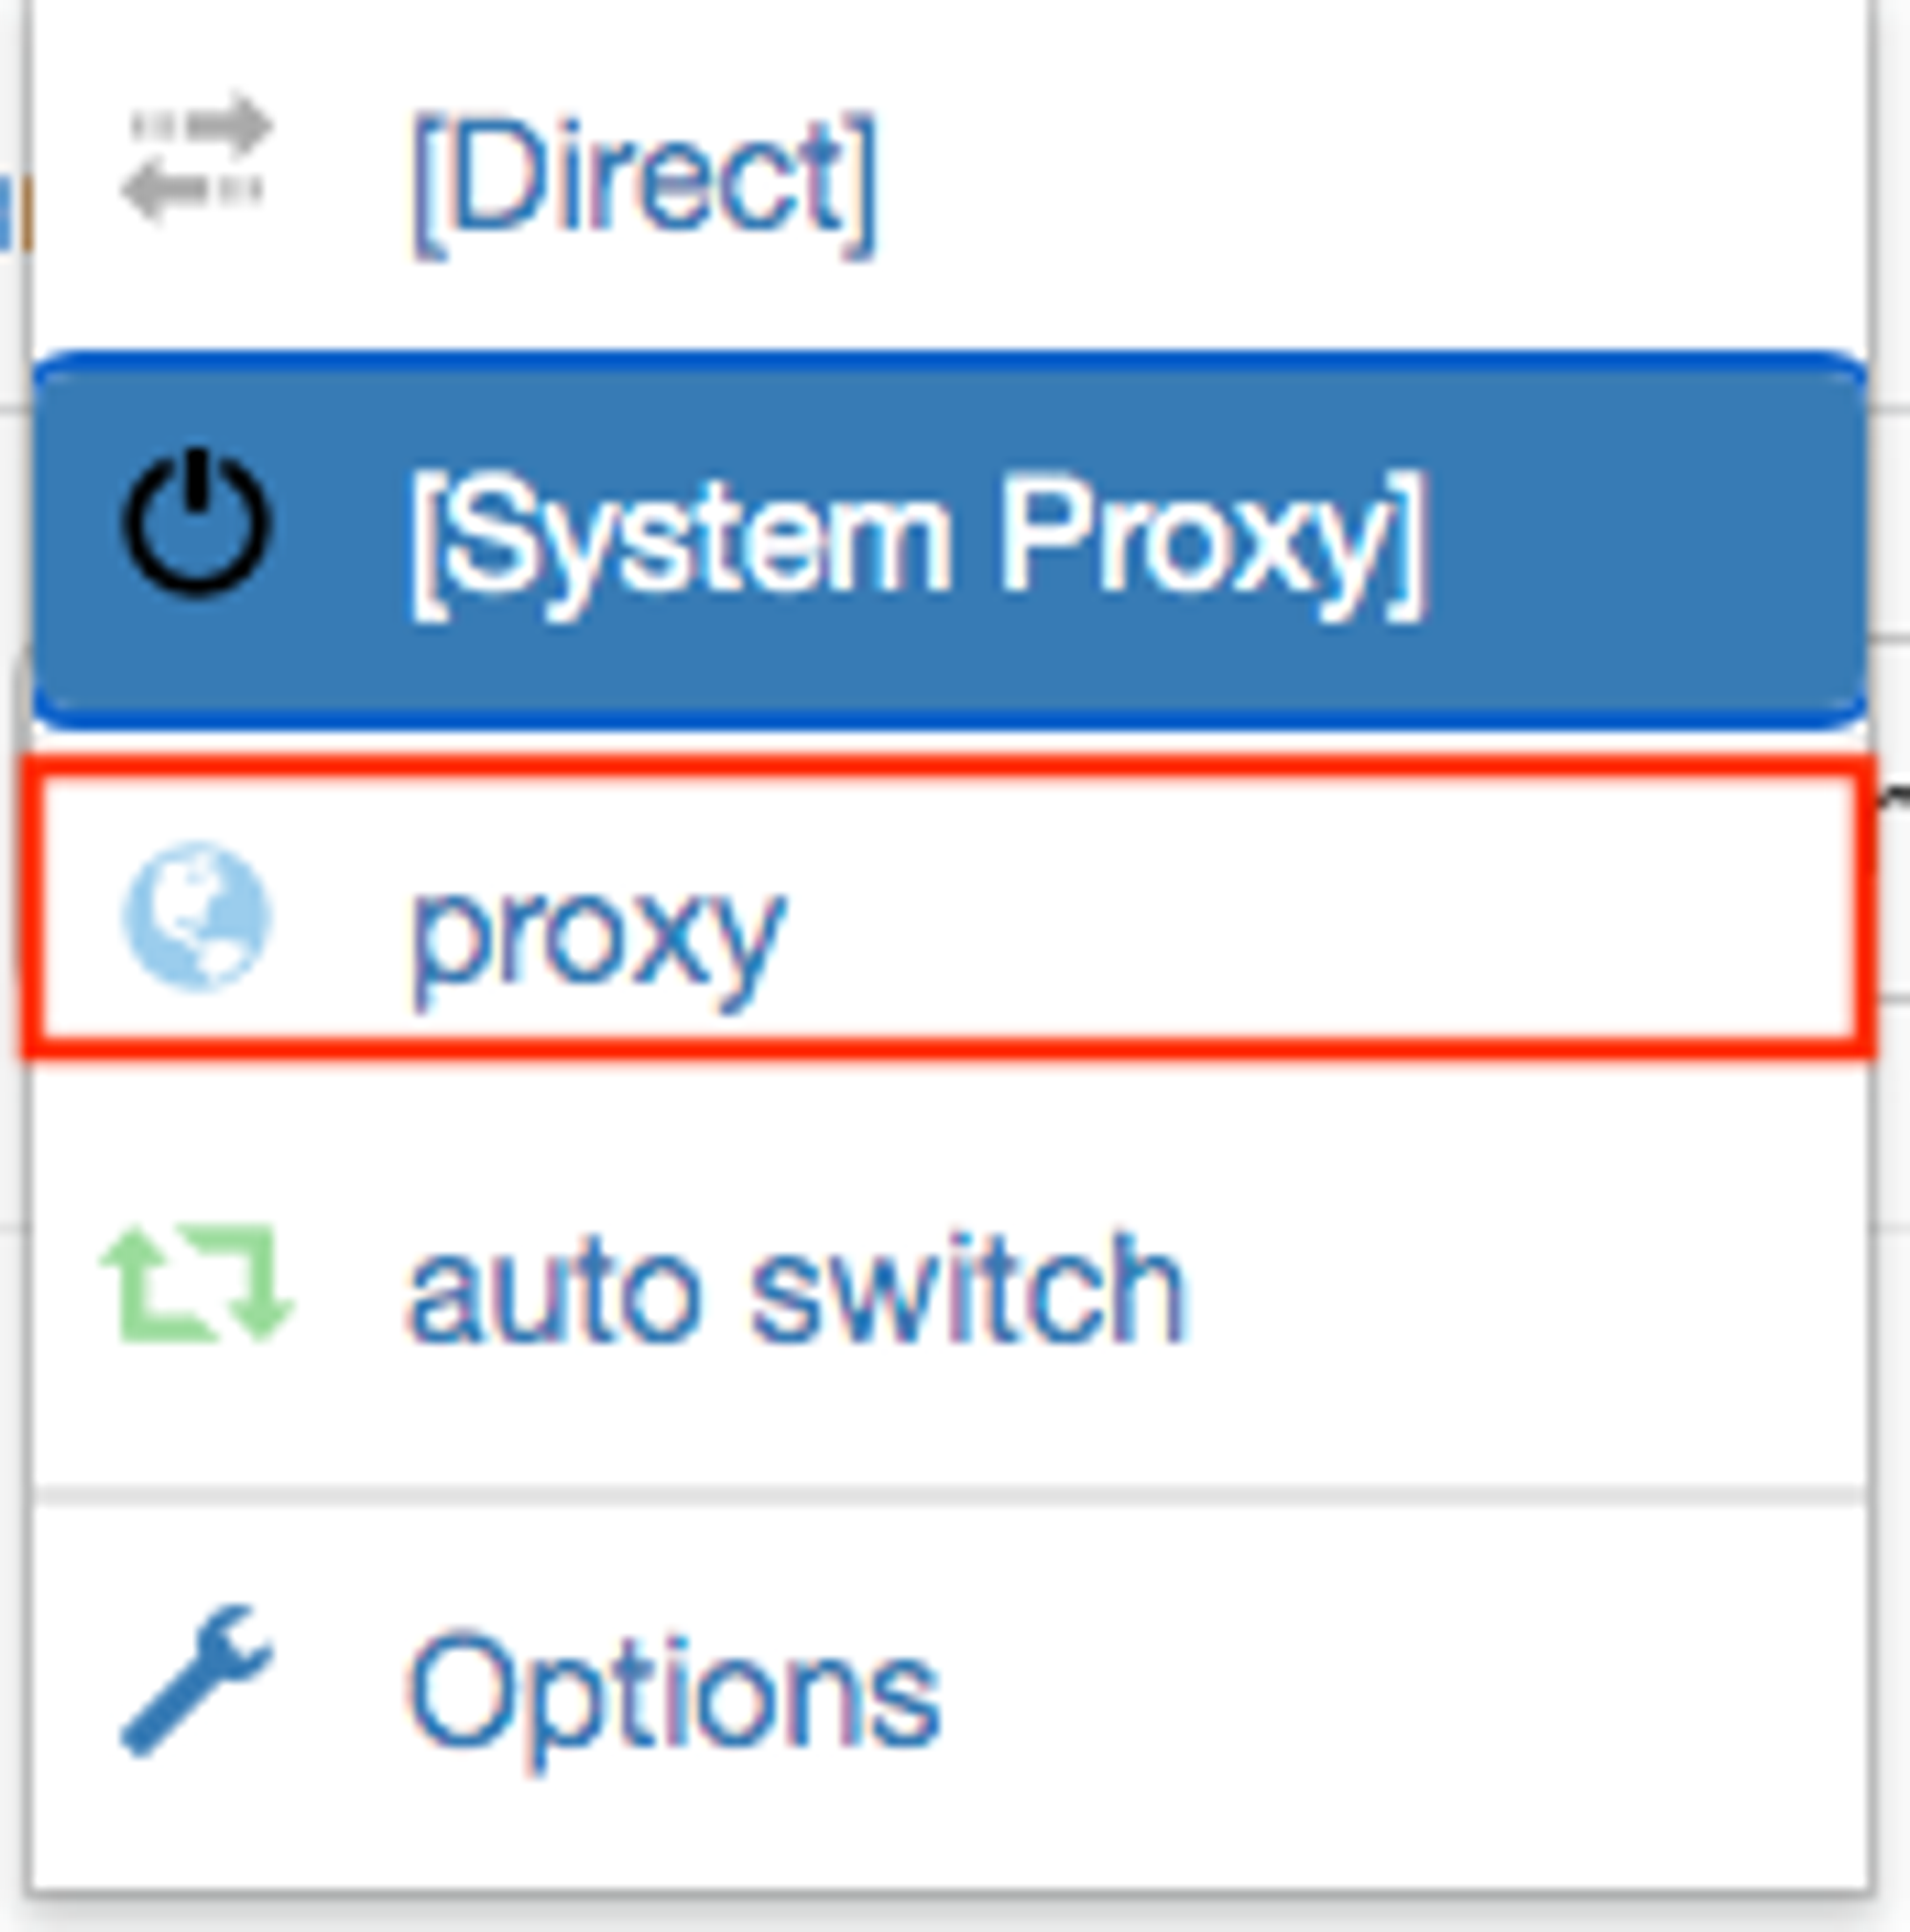
Install the extension in your browser, select it, and click on the “Proxy” tab.

Once in the proxy settings section, you will find a window where you need to enter the details of your previously purchased proxy server from our website:
1. Protocol - type of proxy port you want to connect with.
2. Server - IP address of your proxy server.
3. Port - proxy port.
4. If the proxy is private (has a login and password, as our proxies do), you will need to click on the lock icon and enter these details.

Here is an example of how to fill out all the fields. Click on “Save changes” to save all changes to your proxy and start working with it.

Thanks to its numerous features and simple interface, SwitchyOmega becomes an indispensable assistant for users who need flexible and effective network connection settings.