Proxy Setup in Incogniton browser
May 21, 2024


What is Incogniton?
Incogniton is a specialized web browser designed with the needs of users who wish to remain anonymous online in mind. Its main goal is to provide maximum privacy and data protection while browsing websites, as well as to prevent tracking of online activities by various services and companies.
Main features
Incogniton allows you to mask your IP address, preventing the identification of your location or personal information. This is particularly useful when visiting sites that may try to track your identity.
With this browser, you can mask your IP address, preventing the identification of your location and protecting personal information. It blocks the tracking of your activity, including the use of cookies, tracking scripts, and other methods employed by third parties.
The "Invisible" mode allows you to use the browser completely anonymously, leaving no traces of your online activity. The browser also provides protection against malicious programs and websites, ensuring your safety online. With many customizable settings, you can tailor the browser to your needs and preferences, including managing cookies, scripts, and much more.
Benefits
Let’s look at the main advantages of Incogniton:
- Management of multiple browser profiles
- Expansion of marketing strategies on social networks and management of multiple accounts without complications
- Management of traffic arbitrage without the risk of bans and account suspensions thanks to Incogniton.
How to Set Up a Proxy
Follow these instructions to quickly set up a proxy in Incogniton.
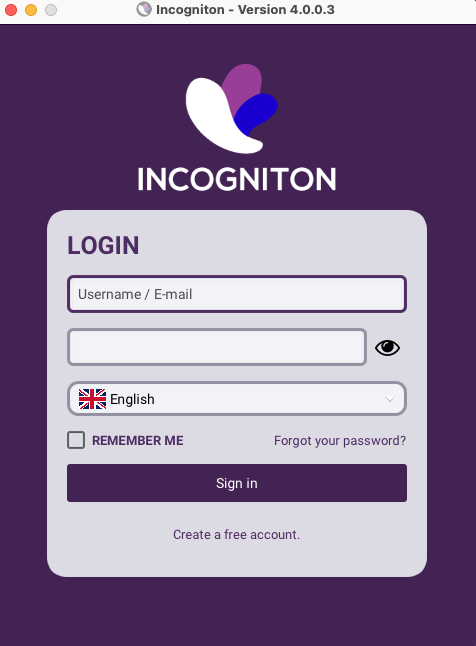
Start by logging in or registering if this is your first time launching the browser on your device.
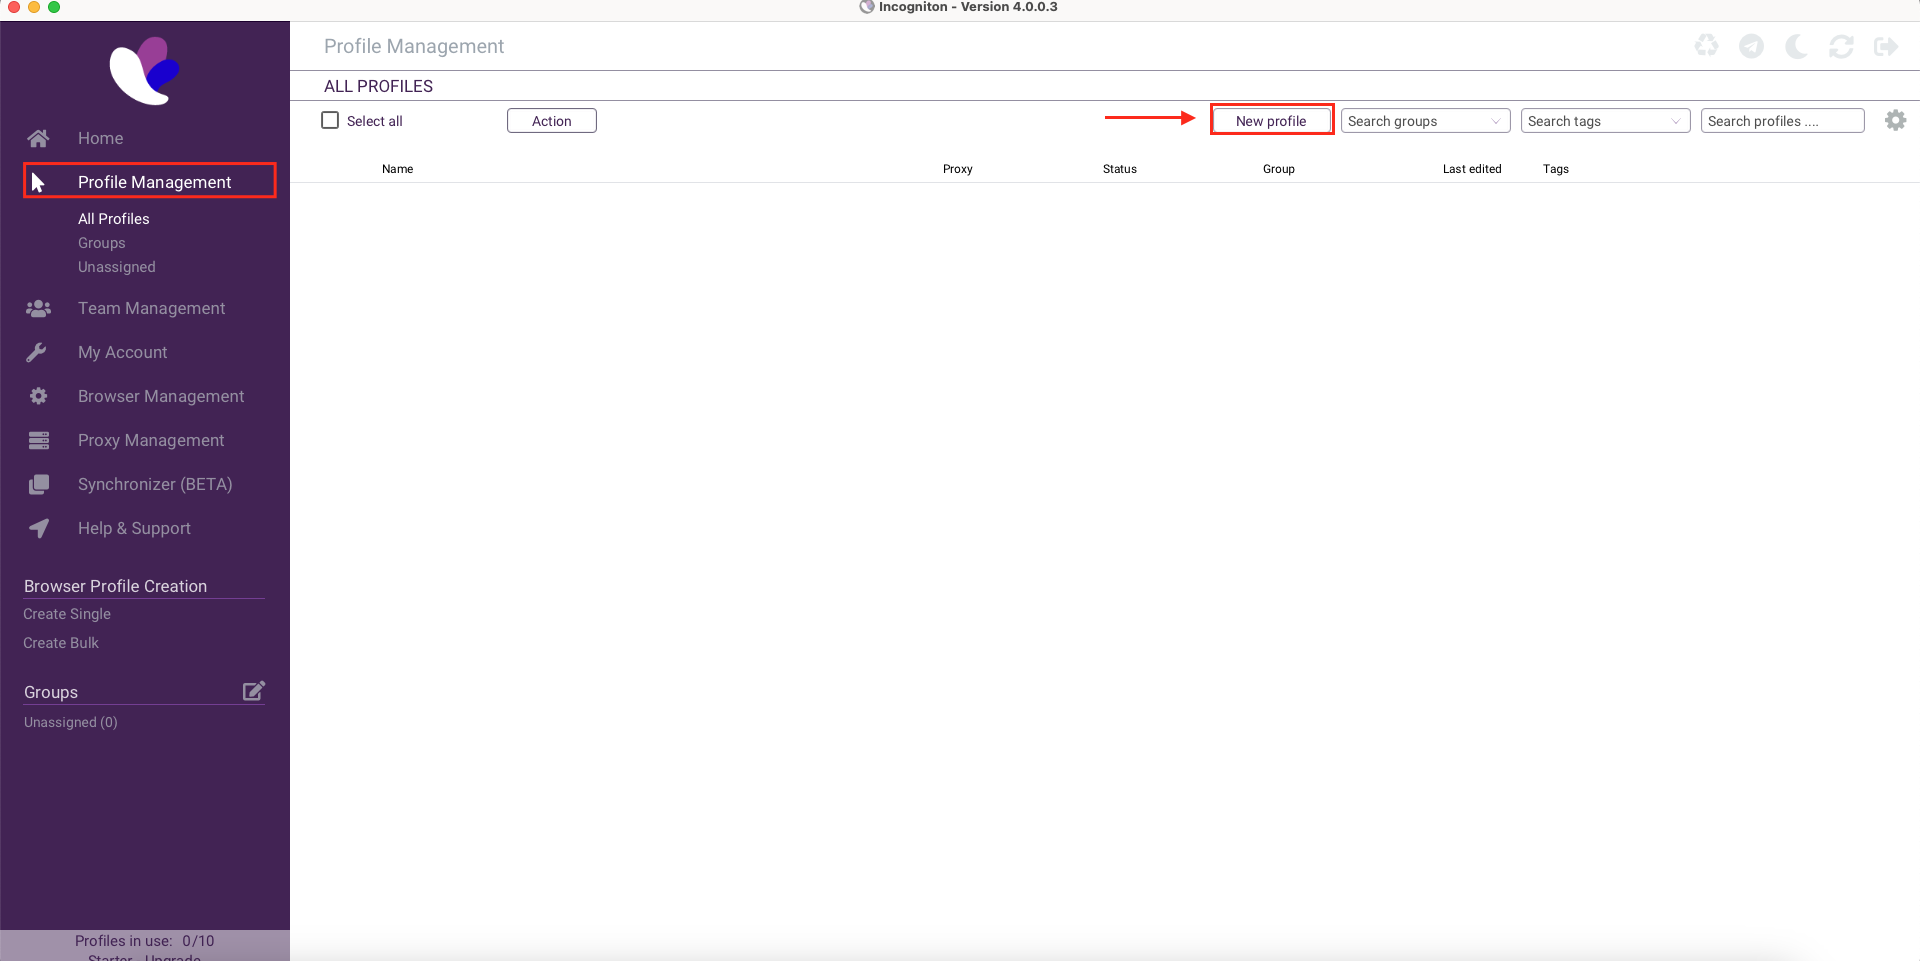
After logging into the browser, you automatically enter the "Profile Management" section, where you can create new profiles and work with them. Click the "New Profile" button to get started.
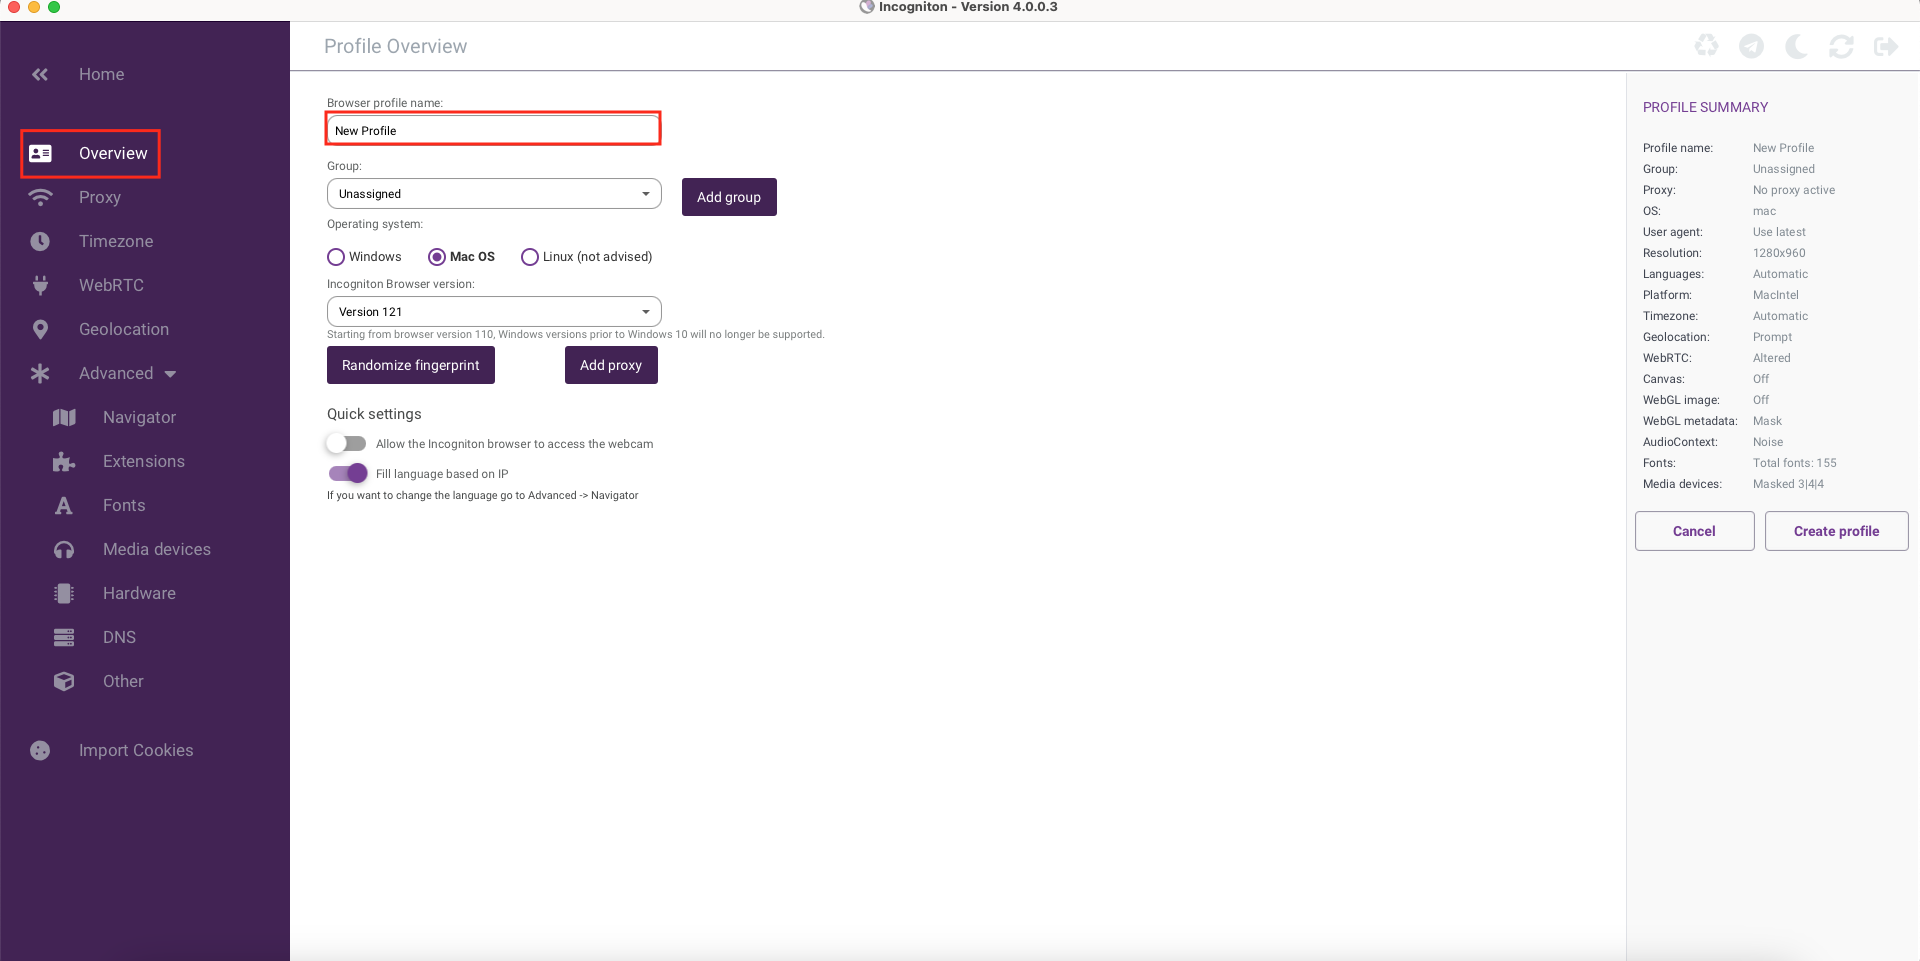
Next, in the "Profile Name" field, specify any name you need. We recommend naming it in a way that makes it clear what you will use this profile for and allows you to quickly find it among many others.
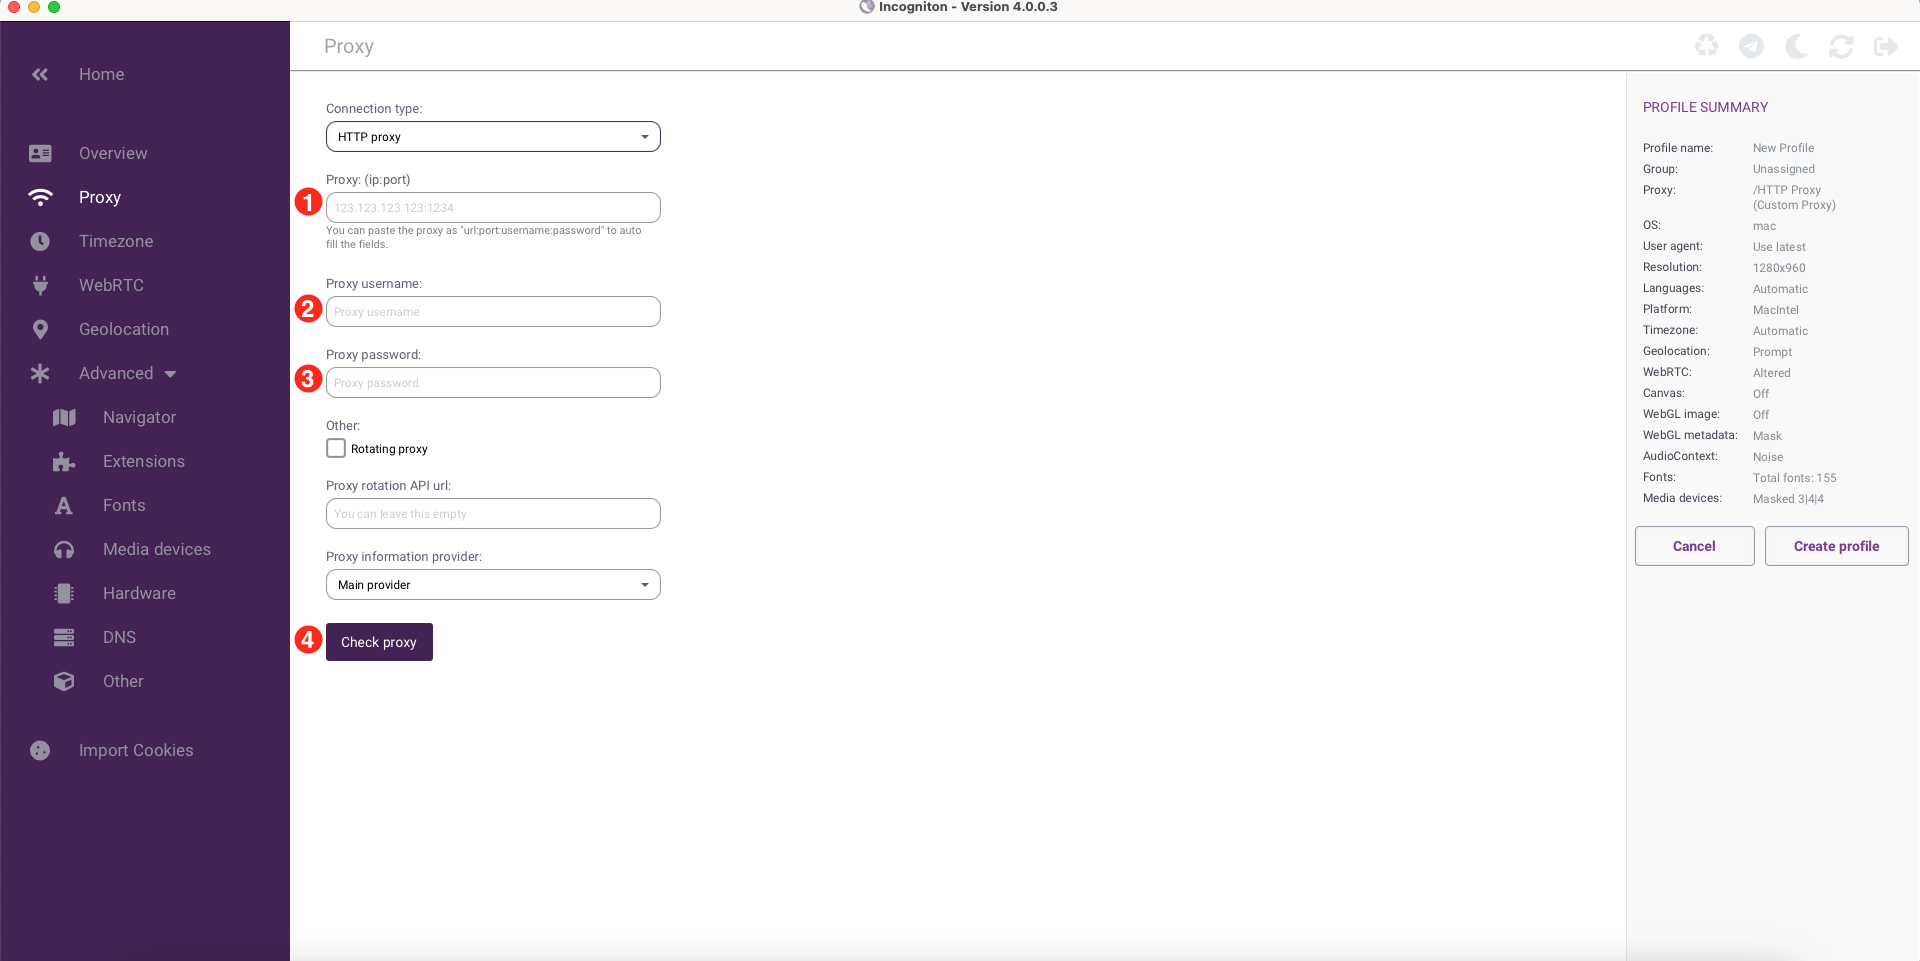
Once the name is set, go to the "Proxy" section, where the main settings will take place. In the "Connection Type," choose the port through which you want to connect to the proxy; let’s consider the most popular one - HTTP.
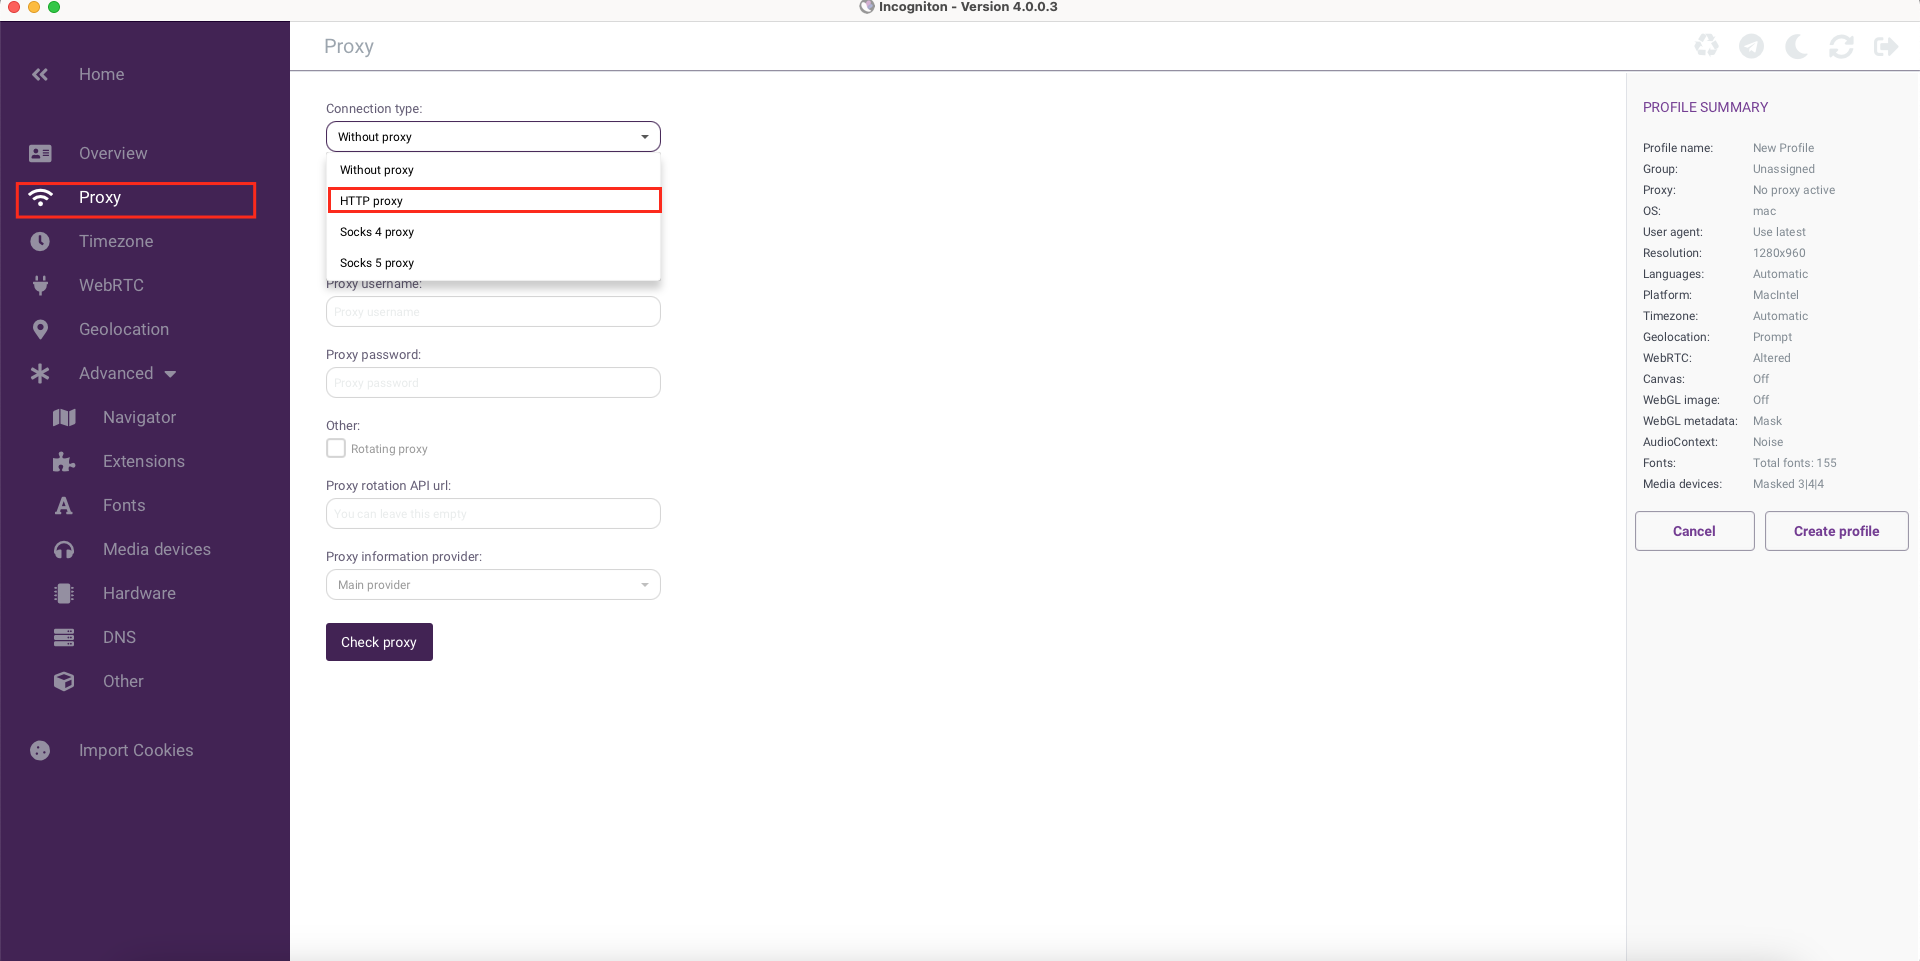
Next, you need to enter the details of the proxy that you have already purchased on our website in your personal account:
1. Proxy server: note that here you need to enter data in the IP:port format
2. Proxy login
3. Proxy password
4. Click “Check Proxy Server” once all the proxy details are entered
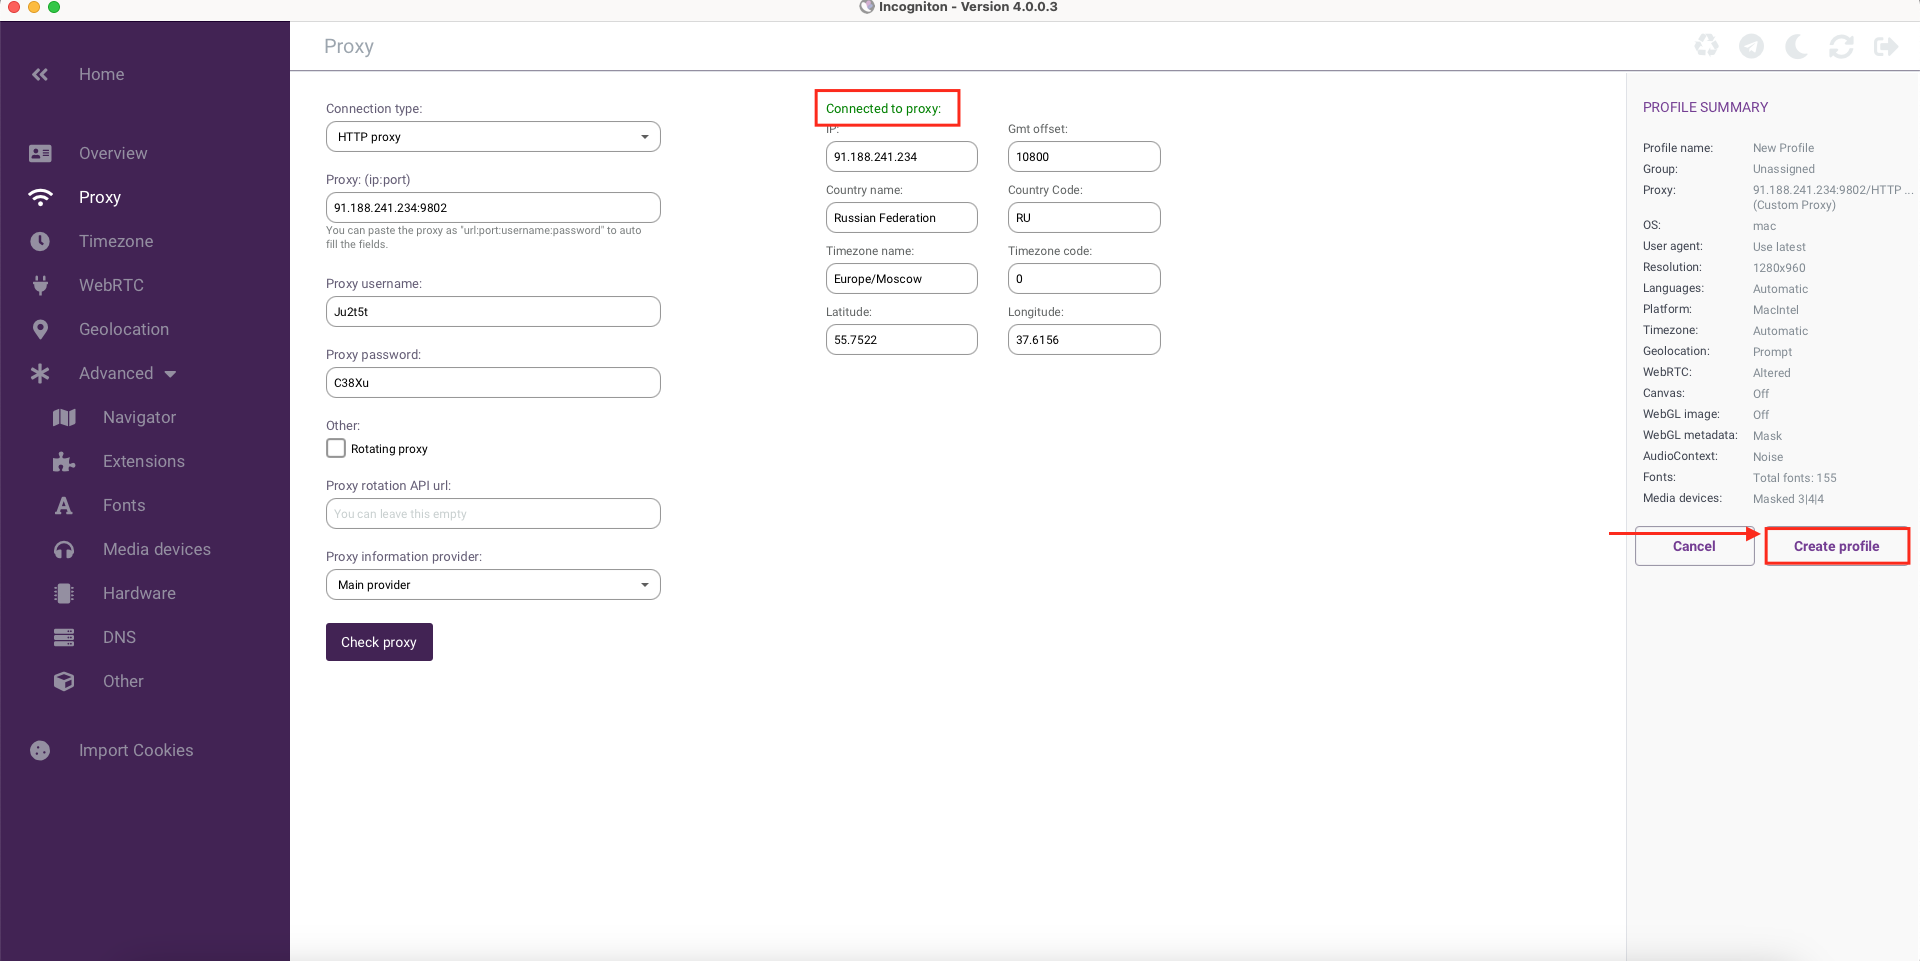
If everything is correctly specified, there are no errors, and the proxy works correctly, you will receive a notification that the connection to the proxy was successful. At this point, the basic settings are completed, and you can save the profile for work - click “Create Profile.”
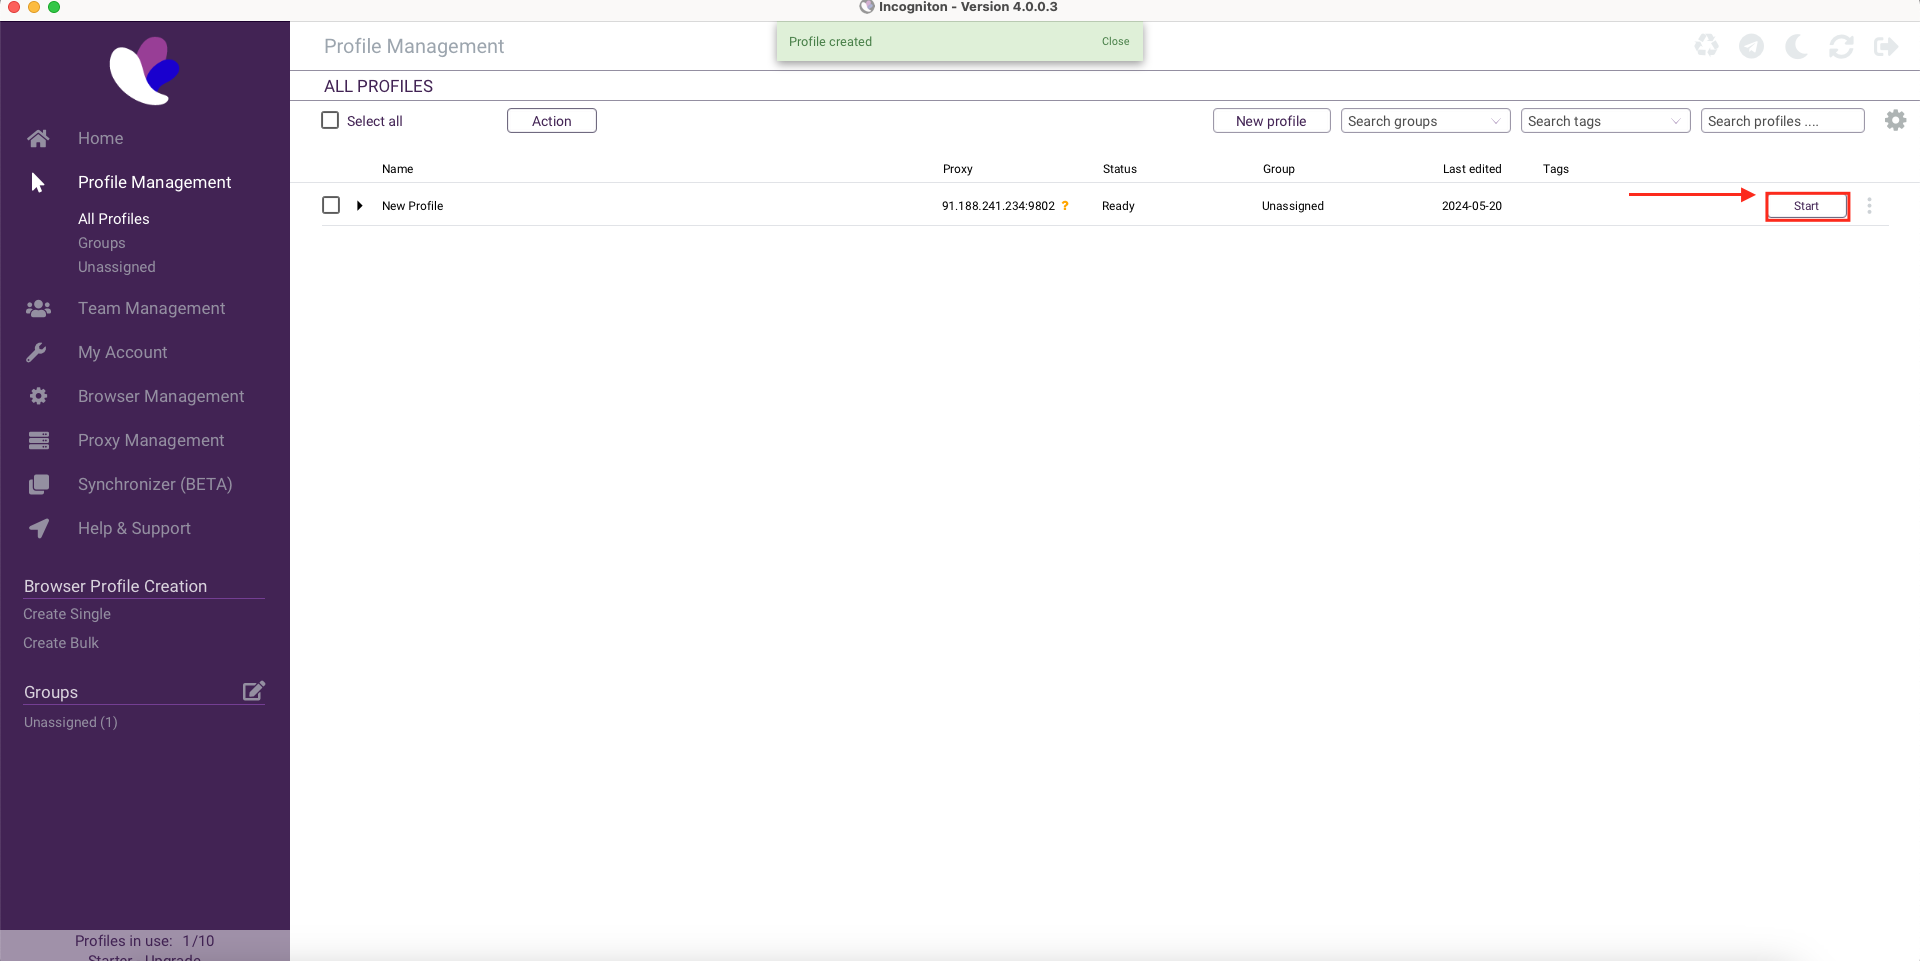
After saving, you return to the "Profile Management" section. Here you can launch the desired proxy by clicking “Open” next to the profile you need at the moment.
Thanks to these instructions, you can easily configure our proxies in the Incogniton browser, a powerful tool for those who value their privacy in the online world. With its help, you can be sure of the security of your data and the freedom of your actions on the Internet, leaving no traces of your online activity.